Here’s a quick post on how I organize shortcuts to my applications in the Windows 10 Start menu.
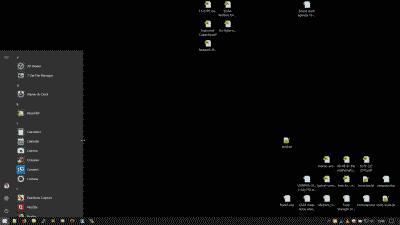
To start, I uninstall any default Microsoft default applications (e.g., Internet Explorer), as well as any applications that the vendor (e.g., Dell, Lenovo, etc.) has installed that I’m not likely to use. Then I unpin any application tiles that may exist in the Start menu, and reduce the menu window by grabbing the right edge and sliding it left (See Figure 1).
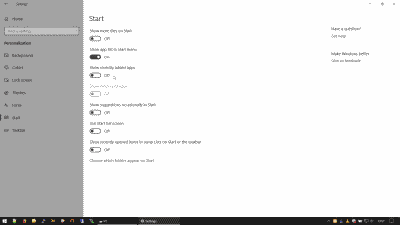
Next, I navigate to Settings -> Personalization -> Start and shut off several Start menu options (See Figure 2).
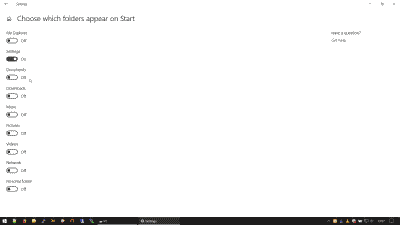
While in this menu I select “Choose which folders appear on Start” and shut off several more options (See Figure 3).
When applications are installed under Windows 10 their Start menu shortcuts are contained in one or both of the following locations: %appdata%\Microsoft\Windows\Start Menu\Programs and C:\ProgramData\Microsoft\Windows\Start Menu\Programs. I move everything contained in the former into the latter, and do some clean up (i.e., remove extraneous folders, links to web sites, etc.).
I move all Windows 10 system applications (e.g., Narrator, Paint) to the “Windows System” folder; and all shortcuts to Windows 10 administrative applications (e.g., “Component Services”, “Computer Management”) to the folder “Windows Administrative Tools”. Both folders will appear under Start menu, where the applications contained within can be accessed.
For portable applications that are standalone binary executable files (e.g., PuTTY) I place all of those into a folder under C:\, create shortcuts to those files, and then move those shortcuts to C:\ProgramData\Microsoft\Windows\Start Menu\Programs, where they will appear in the Start menu.
Much as been written about the Windows 10 Start menu and its departure from Windows 7. And while I’ll probably never really warm to it at least I can keep my application shortcuts a little more organized.
Have I forgotten anything? Probably. But you get the idea.
