NAS4free is an open source NAS (“Network Attached Storage”) platform based on FreeBSD that supports file sharing across Windows, Apple, and UNIX-like systems. Support for ZFS, Software RAID (0,1,5), disk encryption, S.M.A.R.T, email reports, CIFS FTP, NFS, TFTP, AFP, RSYNC, Unison, iSCSI, HAST, CARP, Bridge, UPnP, and Bittorent, are among its many features – all configurable through its GUI interface. NAS4Free can be installed on Compact Flash or USB flash drive, hard disk or booted into a “LiveCD” environment. NAS4Free code and documentation are released under the Simplified BSD License.
The ZFS (“Zetabyte File System”) is a combined file system and logical volume manager designed by Sun Microsystems. The features of ZFS include protection against data corruption, support for high storage capacities, snapshots and clones, continuous integrity checking and automatic repair. ZFS is implemented as open-source software, licensed under the Common Development and Distribution License (CDDL).
This post will describe how to setup a simple, yet resilient, ZFS-based RAID 1 (ZFS mirror) in NAS4Free. In RAID 1, data is written identically to two disk drives, thereby producing a “mirrored” set. If one disk becomes defective, the remaining disk still contains all the data. To help explain the steps involved, we’ll use two new 2TB (Terabyte) SATA 3.0 hard disks, along with the ZFS utilities available within NAS4Free, to create and configure our ZFS mirror. We’ll also discuss a few post-install activities to help maintain your ZFS mirror. All steps involved assume that the two hard drives have been installed correctly and are recognized by the BIOS, and that NAS4Free is installed and operational. The software versions used in this post were as follows:
- NAS4Free v9.1.0.1 – Sandstorm (revision 636)
So, let’s get started.
Adding the Disks
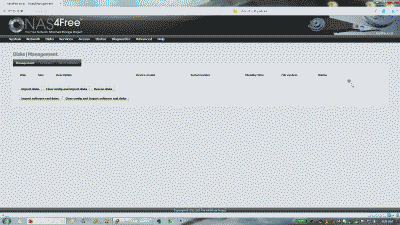
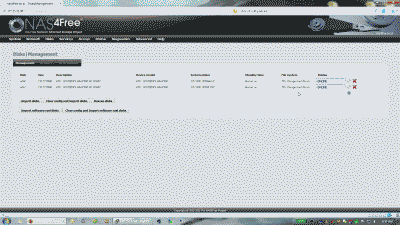
The first thing we need to do is logically add the two new disks to NAS4Free so the system acknowledges their existence, permitting further configuration on them. Log in to the NAS4Free GUI (“Graphical User Interface”), navigate to Disks->Management, and select the “+” icon. (See Figure 1).
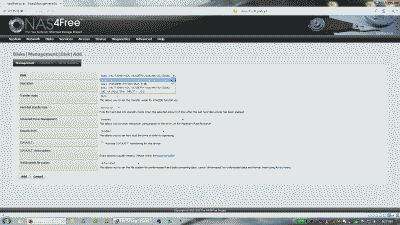
In the subsequent page you are presented with the configuration screen for adding new disks. Select the first 2TB disk from the drop-down menu under the “Disk” field, and select “unformatted” from among the options in the drop-down menu under the “Preformatted file system” field. The remaining options on this page can retain their default settings. Now select “Add” (See Figure 2).
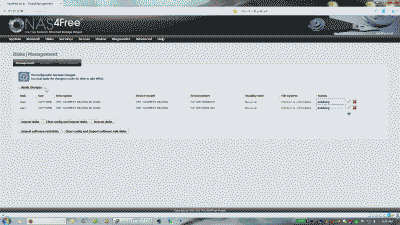
Repeat these steps for the second 2TB disk. When complete, select “Apply changes” (See Figure 3).
Note: If you’re adding disks that have previously been formatted using ZFS, NAS4Free will likely not allow you to add these disks as unformatted. You can, however, add them by selecting “zfs storage pool device” under the “Preformatted file system” field and skip the following formatting step.
Format the Disks
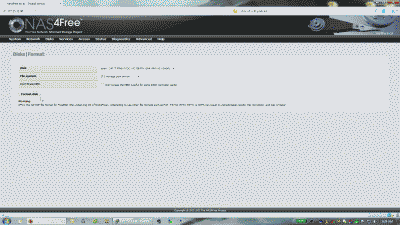
Now that the disks have been added, we need to format them. Navigate to Disks->Format, and select one of the newly added disks from the drop-down menu under the “Disk” field. Select “ZFS storage pool device” from the drop-down menu under the “File system” field, then select “Format disk” (See Figure 4).
Repeat these steps for the second disk, then navigate back to Disks->Management and ensure that both disks are present and formatted as ZFS storage pool devices (See Figure 5).
Create a ZFS Virtual Device
We’ve added our two 2TB hard disks and formatted them. Now its time to create a ZFS “vdev” or virtual device.
Unlike traditional file systems, which reside on single devices and require a volume manager to use more than one device, ZFS filesystems are built on top of virtual storage pools called “zpools.” A zpool is constructed of virtual devices, or “vdevs,” which are themselves constructed of block devices: files, hard disk partitions, or entire disks, with the latter being the recommended usage. Block devices within a vdev may be configured in different ways, depending on needs and space available: non-redundantly (similar to RAID 0), as a mirror (RAID 1) of two or more devices, which is the focus of this post, or as a RAID-Z (similar to RAID-5) group of three or more devices.
In summary then, a vdev represents the disk drives that are used to create a zpool. A zpool can have any number of vdevs at the top of the configuration, known as a “root vdev.” If the top-level virtual devices contain two or more physical devices, the configuration provides data redundancy as mirror or RAID-Z virtual devices.
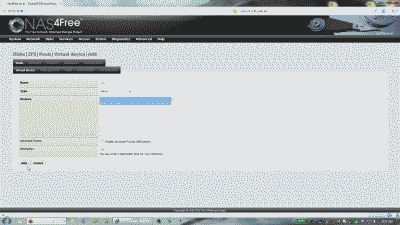
To create a virtual device consisting of our newly added hard disks, navigate to Disks->ZFS->Pools->Virtual device, and select the “+” icon. In the subsequent page, enter a name for the new virtual device under the “Name” field (e.g., “vd_1”), and select “Mirror” from among the options under the “Type” field. Now select both hard disks in the “Devices” field by holding the CTRL key and left-clicking each disk. You can also enter a description for the virtual device under the “Description” field, if desired. Select “Save” when complete (See Figure 6).
Create a ZFS Pool
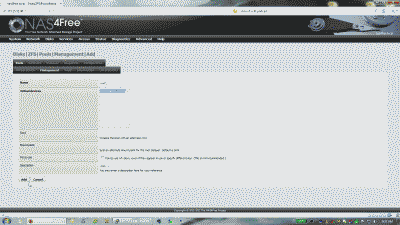
Having created our vdev, let’s move on and create a zpool. Navigate to Disks->ZFS->Pools->Management, and select the “+” icon. In the subsequent page, enter a name for the new zpool under the “Name” field (e.g., pool_1). You should see the vdev created previously listed under the “Virtual devices” field. Select the vdev by left-clicking on it. Add a description for the virtual device under the “Description” field if desired. The remaining options can retain their default settings, resulting in the mount point for the zpool becoming /mnt/[your-zpool-name]. Select “Save” when complete (See Figure 7).
Create a ZFS Dataset
At this point you could start using your entire zpool as storage if desired. However, a significant feature of ZFS is the concept of “datasets.” A dataset is essentially a child filesystem of the parent zpool. Imagine that the zpool is a single hard disk. In a typical hard disk you would create a single, disk-sized partition, and then format that partition with a filesystem. But if later you’d like to add additional filesystems to the disk, you have to erase and redo your partition to create more partitions to contain the new filesystems, or use a tool to actively resize existing partition, and then create the new partitions and filesystems.
With datasets, all of these partitioning efforts are unnecessary. A ZFS dataset acts like another mounted partition with no locked-in size. The quantity of disk space it takes up is only as much space as you use in populating it, or children datasets of it (of course, it can never be larger than the size of its parent zpool). You don’t have to worry about resizing partitions as ZFS inherently handles all that for you. Additionally, each dataset can have its own special configuration by modifying different behavioral variables. For example, you can determine quota and permissions independently for each dataset. Finally, datasets provide more flexibility if you need to snapshot or clone your filesystems.
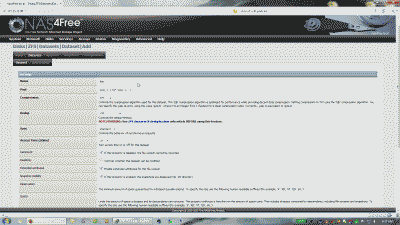
To add a dataset to the zpool, navigate to Disks->ZFS->Datasets->Dataset, and select the “+” icon. Enter a name (e.g., “files”) in the “Name” field (resulting in the mount point for the dataset becoming /mnt/[your-zpool-name]/[your-dataset-name]). Ensure that the zpool created previously is selected from the drop-down list under the “Pool” field. If you’re interested in performing periodic snapshots of the dataset (discussed below), I recommend enabling the “Snapshot Visibilty” option so that the snapshots are added automatically to /mnt/[your-zpool-name]/[your-dataset-name])/.zfs/snapshots. The remaining options can be configured according to your requirements. Select “Add” when complete (See Figure 8).
Wrapping up
We’ve successfully added two new 2TB hard disks to NAS4Free and formatted them, created a vdev and a zpool, and finally, created a dataset within our zpool. At this point you can start enabling services such as CIFS, NFS, UPnP, etc., to take advantage of your new ZFS mirror storage. Remember, when configuring some of these services to select the correct mount point for your dataset (e.g., /mnt/pool_1/files).
With the creation and configuration of our ZFS mirror out of the way, let’s move on talk about a few maintenance activities that should prove useful.
- Replacing a defective hard disk
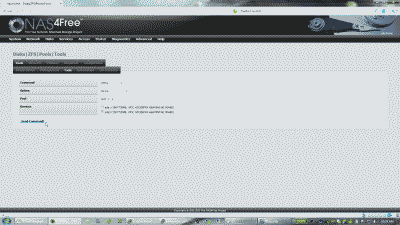
Occasionally you may have to replace a hard disk in your zpool that has become defective. To perform the replacement, navigate to Disks->ZFS->Pools->Information and note which disk is defective or missing (e.g. ada2). Next, navigate to Disks->ZFS->Pools->Tools and offline the disk if possible by selecting “offline” from the drop-down list under the “Command” field. Ensure that “Device” is selected under the “Option” field and that the correct pool is selected under the “Pool” field. Use the checkbox to select the defective disk under the “Devices” field, then select “Send Command!” (See Figure 9).
Power down NAS4Free, then identify and replace the defective disk with one of equal storage capacity using, if possible, the same SATA port [Pro-tip: Take the time to label your disks correctly (e.g. ada2) when you install them. It will make physically identifying the defective disk much easier!]. Restart NAS4Free and navigate to Disks->ZFS->Pools->Information to verify the device name for the new disk. If you were able to reuse the same SATA port, the device name should be same as the defective disk (e.g. ada2). Navigate to Disks->ZFS->Pools->Tools and replace the disk by selecting “replace” from the drop-down list under the “Command” field. Ensure that “Device” is selected under the “Option” field and that the correct pool is selected under the “Pool” field. Use the checkbox to select the defective disk under the “Devices” field and the new disk from the drop-down list under the “New Device” field, then select the “Send Command!” The replacement disk should resilver fairly quickly. Verify by navigating to Disks->ZFS->Pools->Information
- Creating and managing snapshots
One of the many great features about using ZFS is its snapshot capability. A snapshot is a read-only reference to the state of a dataset at the moment the snapshot was taken. It is a reference, and not copy, because at the moment it is taken, it takes up no additional space. However, as data within the dataset changes, either because files are modified or deleted, the snapshot consumes disk space by continuing to reference the old data. This behavior allows you to easily recover files if necessary, but in doing so prevents disk space from being freed until the snapshot is deleted.
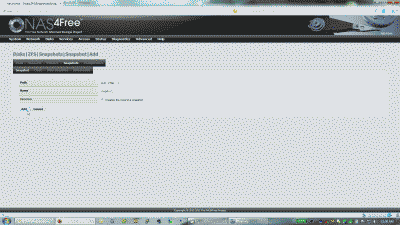
To take a snapshot manually, navigate to Disks->ZFS->Snapshots->Snapshot, and select the dataset you want to snapshot (e.g., pool_1/files) from under the “Path” field. Enter a name for the snapshot (e.g., snapshot_1), enable “Recursive” option, then select “Add” (See Figure 10).
NAS4Free also provides the ability to configure reoccurring snapshots under Disks->ZFS->Snapshots->Auto Snapshot. Here you can schedule a time the system should perform the snapshot and how long it should retain them, resulting in the oldest snapshot being deleted when the deadline is reached.
You have a couple of options when it comes to “rolling back” to a particular snapshot. In fact, though , rolling back is a slight misnomer, because what you’re really doing is locating the snapshot you’re interested in and copying over the files you’d like to recover. If you selected the option “Snapshot Visibility” when setting up your dataset in NAS4Free (See Disks->ZFS->Datasets->Dataset->Edit), then all snapshots for that dataset will be located in that filesystem under the directory /.zfs/snapshot (e.g., /mnt/pool_1/files/.zfs/snapshot). This allows you to simply navigate to the snapshot directory your interested in and copy files from that directory to the current filesystem.
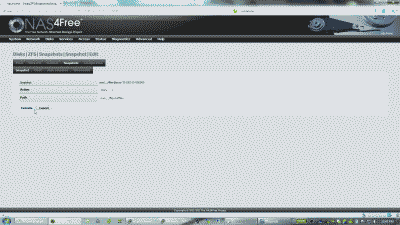
Another way you can recover files from snapshots is to clone one to another directory. This approach has the advantage of allowing you to share out the cloned snapshot directory, say using CIFS or NFS, for some period of time until files are recovered. To clone a snapshot, navigate to Disks->ZFS->Snapshots->Snapshot and edit the snapshot you’re interested in cloning by selecting the small wrench icon. Ensure that “Clone” is selected under the “Action” field, then enter a path to the directory where the clone is to reside. Note that this path must be expressed as a relative path. So, for example, pool_1/files/oldfiles would work, but /mnt/pool_1/files/oldfiles would not, nor would /pool_1/files/oldfiles. Also note that the directory where the snapshot will be cloned does not have to be created in advance, rather it will be created automatically for you when you clone the snapshot. Now, select “Execute” when finished and your cloned snapshot will be available for use at the path you specified (e.g. /mnt/pool_1/files/oldfiles) (See Figure 11). Cloned snapshots can be destroyed at anytime by navigating to Disks->ZFS->Snapshots->Clone.
- Data scrubbing
Performing a ZFS “scrub” on a regular basis helps to identify data integrity problems, detect silent data corruptions caused by transient hardware issues, and to provide early alerts to disk failures. This operation traverses all the data in the zpool once and verifies that all blocks can be read. Scrubbing proceeds as fast as the vdevs will allow, though the priority of any disk I/O generally remains below that of normal operations. So, while the scrub operation might negatively impact performance slightly, the zpool’s data should remain usable and nearly as responsive while the scrubbing occurs.
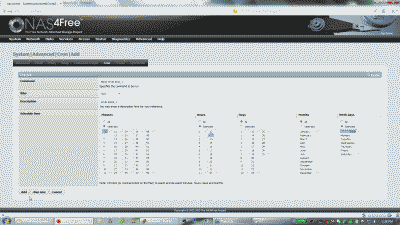
To schedule and manage scrubs on a ZFS zpool in NAS4Free, we’ll set up a cron job to run the zpool scrub command. Navigate to System->Advanced, and select the Cron tab. Ensure that the “Enable” checkbox is selected, then enter the command zpool scrub [your-pool-name] in the “Command” field. Ensure that the command is run as the root user and enter a description for the cron job if desired. Now select when you’d like the command to run in the “Scheduled time” field. If you have consumer-quality drives, consider a weekly scrubbing schedule. If you have data center-quality drives, consider a monthly scrubbing schedule. Also note that depending upon the amount of data in the zpool, a scrub can take a long time. Consequently, you may want to consider scheduling them for evenings or weekends to minimize the impact on performance. When complete, select “Add”, then “Apply changes”. The example shown in Figure 12 shows the command zpool scrub pool_1 will run every Sunday at 1300 local time.
Conclusion
This post described how to create and maintain a simple, yet resilient, ZFS mirror in NAS4Free, an open source NAS implementation based on FreeBSD.
