FreeNAS is an open source storage platform based on FreeBSD that supports file sharing across Windows, Apple, and Unix/Linux systems. Clonezilla is an open source clone utility for doing bare-metal backup and recovery for disks and disk partitions.
In this post I will describe how to use Clonezilla to create image files of disks or disk partitions and backup those images in real time over a network to a machine running FreeNAS. All steps involved assume you have a running implementation of FreeNAS. The software versions used in this post were as follows:
- Clonezilla v1.2.12-10
- FreeNAS v0.7.1 Shere (revision 5127)
Configure FreeNAS
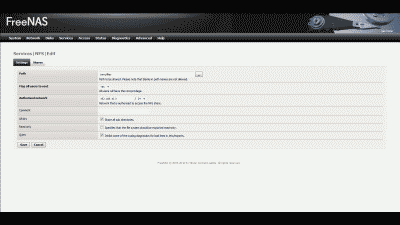
Let’s start by making a new directory in FreeNAS to hold the images we create using Clonezilla. For the purpose of example, let’s assume there is an existing mount point located at /mnt/files and create a new subdirectory called images at that location. Next, let’s enable Network File System (“NFS”) service in FreeNAS so that /mnt/files/images can be accessed from Clonezilla. Login into the FreeNAS web interface and navigate to Services -> NFS -> Settings and make sure that the check box for enabling NFS is checked then specify the number of servers that will run (Hint: the default value of four should easily handle dozens of users). Now select “Save and Restart.” Next, navigate to Services -> NFS -> Shares and select the “+” icon, where you are presented with the configuration screen for creating a new NFS share. Enter the path to be shared; the network that is authorized to access /mnt/files/images; and, make sure that the “All dirs” and “Quiet” check boxes are selected. The remaining options can remain at their defaults (See Figure 1). Then select “Add” then “Apply changes” (Note: If you would prefer to use Common Internet File System (“CIFS”) instead of NFS, navigate to Services -> CIFS/SMB and select the appropriate settings and add your network share).
Using Clonezilla
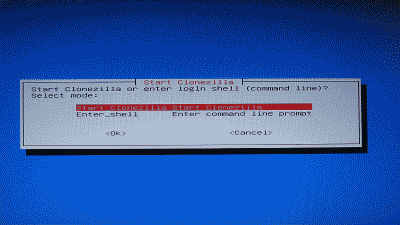
Now it’s time to use Clonezilla. Download a copy of Clonezilla live and burn it to a CD (or place it on a bootable USB drive). Boot the system using the Clonezilla live disk, where you’ll be given the option to change the language and select an alternative keyboard keymap, eventually arriving at the “Start Clonezilla” Screen (See Figure 2).
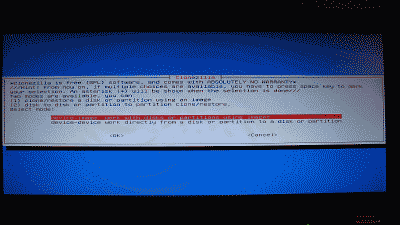
Highlight “Start Clonezilla” and select “Ok.” The screen that follows provides a choice of cloning/restoring a disk or disk partition using using an image, or cloning/restoring a disk or disk partition directly to another disk or disk partition. Since we’ll be creating an image of a disk, we should select “device-image work with disks or partitions using images” (See Figure 3).
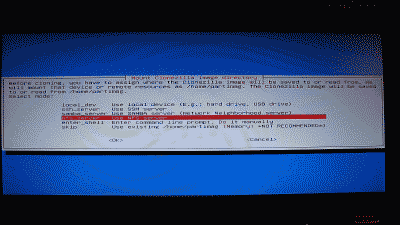
Next, Clonezilla will ask us to define where the image will be saved to (or read from), providing you with several options for accomplishing this task. We’re interested in using an NFS server, so select “nfs_server Use NFS server” (See Figure 4).
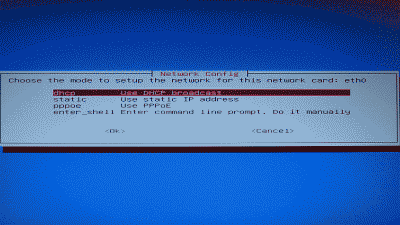
You’ll then be offered several choices on how Clonezilla should obtain IP network settings, including DHCP, static IP, PPPoE, or a shell prompt to manually define how it should go about doing obtain its settings. Select which option works best for you then select “Ok” (See Figure 5).
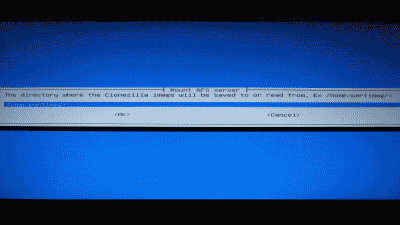
Clonezilla will then ask you whether it should use NFS version 2,3 or 4. Select “nfs NFS V2, V3,” then enter the IP address or the host name of your FreeNAS machine in the screen that follows. Next, you’re asked where the Clonezilla image will be saved to/read from. For the purpose of our example, we’ll enter “/mnt/files/images” to match the new directory we created earlier (See Figure 6).
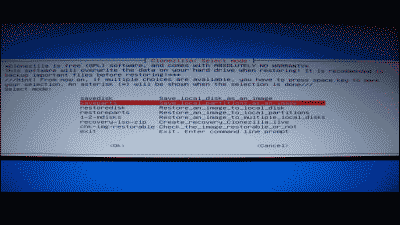
Clonezilla will then mount /mnt/files/images and display its current disk usage. Select “Enter” to continue and you’ll be given a choice to use Clonezilla in either a beginner or expert mode. Select “Beginner mode: Accept the default options” and you’ll be presented with a choice of whether to create images of the entire disk and/or one or more partitions (Note: this screen is also where you would choose to restore disk or partition images). If you would prefer to create an image of a partition, select “saveparts Save_local_partitions_as_an_image” where you will be presented with a choice of which partition(s) to create images of. For the purpose our example, however, we’ll select “savedisk Save_local_disk_as_an_image” to create an image of the entire disk (See Figure 7).
Next, we’ll enter a name for new image and then chose whether we want to check and repair the file system before Clonezilla creates the image. This option is only for supported for certain Linux files systems, like ext3/4, and not for NTFS, so unless you have one of the supported file systems and have reason to suspect the file system may be in error, you should simply select “Skip checking/repairing source file system.” Clonezilla will then ask if you’d like for it to check if the image it creates will be restorable. Don’t worry, it performs this test without actually writing any data to the drive, so let’s select “Yes, check the saved image.” Now select “Enter” to continue, and confirm that you’d like Clonezilla to create the image by entering “y” at the prompt. Clonezilla will then create the disk image and write it to /mnt/files/images on your FreeNAS machine. When complete, Clonezilla will test to make sure the image is indeed restorable and then give the option of powering off the machine, rebooting, using the command line or start over. Congratulations! You’ve just created an image of your disk and stored it on your FreeNAS machine, where it will live safely and happily until you need it.
